Creating an automated CentOS 7 Install via Kickstart file
Since this article was written, I have moved to a new blog, to continue to follow my activity at http://www.marclop.com.
This blogpost is available here in the updated format.
require(["mojo/signup-forms/Loader"], function(L) { L.start({"baseUrl":"mc.us13.list-manage.com","uuid":"80efb65b846ae883e8359f31c","lid":"642ee9eec0"}) })File Generation #
In this post I’ll try to describe as throughly as I can and make a walkthrough of how to automate the installation of CentOS7 via a Kickstarter file located in an accesible web server over the Internet. Here are the steps required to do it:
- [OPTIONAL] Install CentOS7 using your preferred method
- [OPTIONAL] Copy the resulting installation file located under /root/anaconda-ks.cfg
- Open your kickstart file and begibn writing your desired configuration
- Save it when it suits your needs and upload it to any http server you have in your reach (you can alternatively use onedrive, dropbox, or even github’s gist)
First, you have to write a custom kickstart file for your installation, if you find yourself unable to do this, (I’m sure you can google around for a while and have a clear picture in no time) you can alternatively install CentOS7 in an unnatended installation manner and then modify the resulting kickstarter file named ‘anaconda-ks.cfg’, located under the /root directory.
Then, copy it to your local working desktop and open it with your preferred editor (sulbime text is my favourite here). The kickstart file should look like a regular ini/cfg file and might look intimidating at first, so let’s break it down in parts:
Define installation source and aditional repos:
# Use network installation
url --url="http://sunsite.rediris.es/mirror/CentOS/7/os/x86_64"
repo --name="EPEL" --baseurl=http://dl.fedoraproject.org/pub/epel/beta/7/x86_64
# Run the Setup Agent on first boot
firstboot --enable
# Accept Eula
eula --agreed
# Reboot afer installing
reboot
Define Language/locale settings:
# Keyboard layouts
keyboard --vckeymap=es --xlayouts='es'
# System language
lang en_US.UTF-8
Define Network, time and timezone settings:
# Network information
network  --bootproto=dhcp --device=enp0s3 --ipv6=auto --activate
network  --hostname=centos7.test.local
# System timezone
timezone Europe/Madrid --isUtc --ntpservers=0.centos.pool.ntp.org,1.centos.pool.ntp.org,2.centos.pool.ntp.org,3.centos.pool.ntp.org
Define User/Authentication settings:
# System authorization information
auth --enableshadow --passalgo=sha512
# Root password
rootpw --iscrypted SOMECRYPTEDPASSWORD
user --groups=wheel --homedir=/home/marc --name=marc --password=SOMECRYPTEDPASSWORD --iscrypted --gecos="marc"
Define System services:
# System services
services --enabled=NetworkManager,sshd,chronyd
Define Botlooader and partition information:
# System bootloader configuration
bootloader --location=mbr --boot-drive=sda
autopart --type=lvm
zerombr
# Partition clearing information
clearpart --all --drives=sda
ignoredisk --only-use=sda
Define SELinux settings:
# Selinux State
selinux --permissive
Specify packages which will be installed:
# Packages
%packages
@base
@core
chrony
yum-cron
vim
salt-minion

%end
With this kickstart file, we will do the following actions:
- Root Password information
- Create a new user
- Format the new drive
- Install the OS from entirely from the network
- Define and enable the EPEL repository
- Accept de EULA
- Establish the timezone and enable ntp time synchronization on the host
- auto-partition the disk
- Set the SELinux mode to Permissive
- Specify a bunch of additional packages
Password generation #
So, you might be asking, how do I generate this wickedly complicated SHA512 password? here is how to do it:
First, check if you have python python 2.6 or lower
[root@centos7 ~]# python -V
Python 2.7.5
If (like me) you have python 2.7.5 you’ll have to issue this command to generate a valid SHA512 hashed password and enter the actual password:
[root@centos7 ~]# python -c 'import crypt,getpass; print(crypt.crypt(getpass.getpass(), crypt.mksalt(crypt.METHOD_SHA512)))'
Password:
$6$kPbnFm3jv9YDRKeo$GcMRSlE0M2WMO0v1AY9LRaVDnOdhRELiPPczb6Q8EEBLgofsRto3jwwAx5hTUJbQCkWt9Meg2u2P2xOmjBW9j.
If you have a version lower than 2.7, then use:
python -c 'import crypt; print crypt.crypt("CLEARTEXTPASSWORD", "$6$saltsalt$")'
Where CLEARTEXTPASSWORD goes your password, so don’t forget to update it.
Upload to a reachable URL for your host. #
To have this set up working, you’ll need the following:
- CentOS 7 Network install iso
- A network with DHCP in it
- A reachable HTTP server to put your ks.cfg file (such as a Onedrive public folder or an actual http server you own)
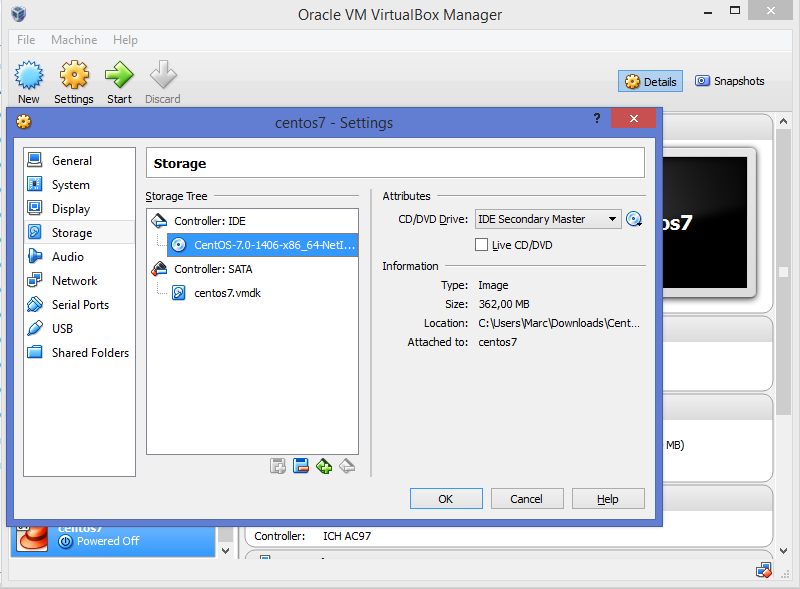
So, after you have all of that, you can mount your ISO in VirtualBox or VMware and boot the machine:
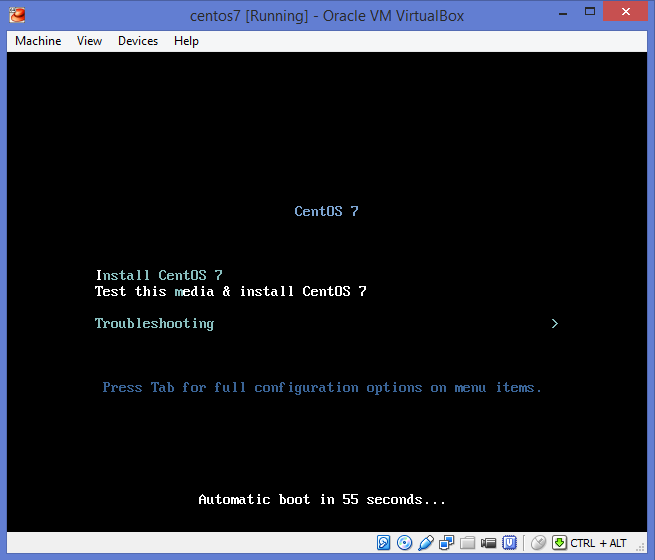
Once it’s powered on it’ll ask you to chose an action, simply press TAB and erase what’s in there and write:
vmlinuz initrd=initrd.cfg ks=http://YOURDOMAIN/ks.cfg
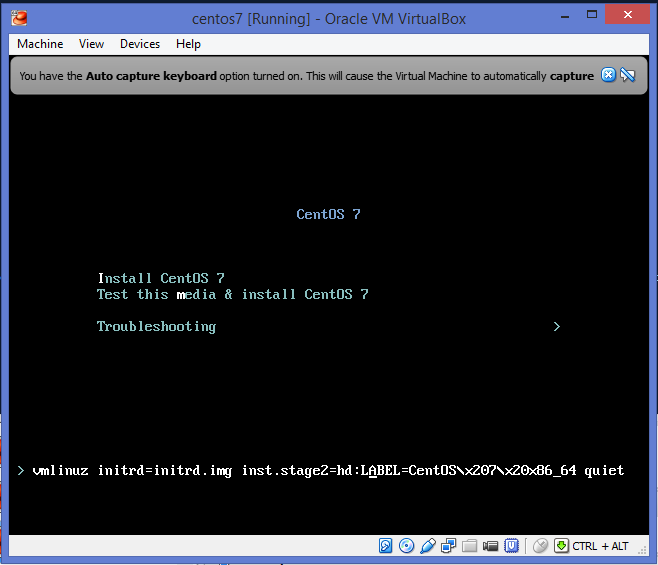
It will download the ks.cfg file, parse it and then will start the scripted installation just as we defined.


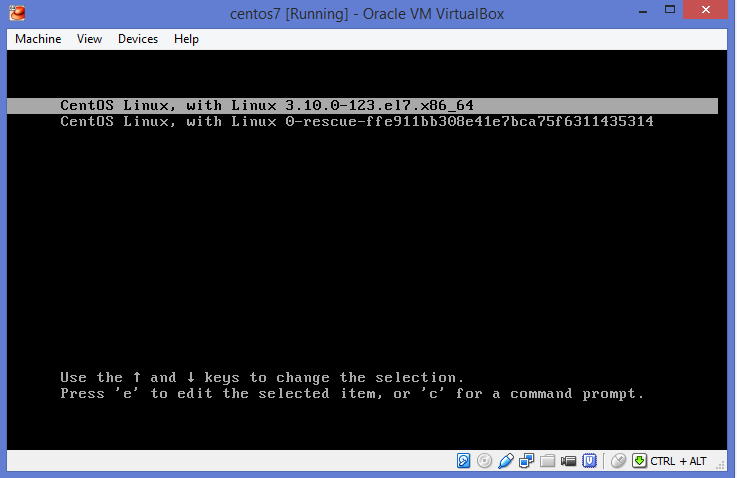
After it has installed all the necessary packages, it will restart itself, we have to unmount the disk in order to be able to boot into the system. So if you’re already in the installation menu, please remove the disk and reset the VM.
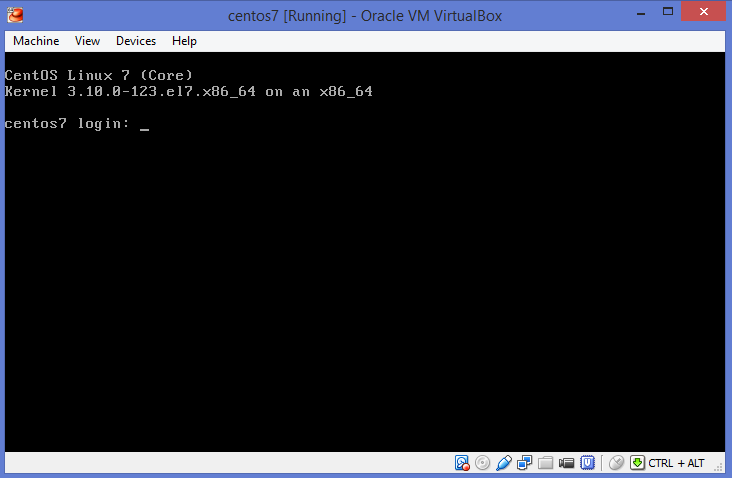
After removing the disk, you’ll notice that the host boots blazingly fast (thanks to Systemd)
In the next post I’ll outline some of the differences of CentOS 7 from Centos 6.
By the way, here is the final Kickstart file:
#version=RHEL7
# Action
install

# System authorization information
auth --enableshadow --passalgo=sha512
repo --name="EPEL" --baseurl=http://dl.fedoraproject.org/pub/epel/7/x86_64

# Accept Eula
eula --agreed

reboot
# Use network installation
url --url="http://sunsite.rediris.es/mirror/CentOS/7/os/x86_64"
# Run the Setup Agent on first boot
firstboot --enable
ignoredisk --only-use=sda
# Keyboard layouts
keyboard --vckeymap=es --xlayouts='es'
# System language
lang en_US.UTF-8

# Network information
network  --bootproto=dhcp --device=enp0s3 --noipv6 --activate
network  --hostname=centos7.test.local
# Root password
rootpw --iscrypted SOMECRYPTEDPASSWORD
# System services
services --enabled=NetworkManager,sshd,chronyd
# System timezone
timezone Europe/Madrid --isUtc --ntpservers=0.centos.pool.ntp.org,1.centos.pool.ntp.org,2.centos.pool.ntp.org,3.centos.pool.ntp.org
user --groups=wheel --homedir=/home/marc --name=marc --password=SOMECRYPTEDPASSWORD --iscrypted --gecos="marc"
# System bootloader configuration
bootloader --location=mbr --boot-drive=sda
autopart --type=lvm
zerombr
# Partition clearing information
clearpart --all --drives=sda

# Selinux State
selinux --permissive

%packages
@base
@core
chrony
yum-cron
vim

%end
Ultimately you can modify the ISO file and the isolinux/isolinux.cfg and make it autostart and everything, but for this post it just wasn’t the right approach.
If you liked this post please, just kudos it :)